How to use Outboard Gear for beginners: hardware made easy
If you’re starting out in audio or looking to branch out from working exclusively within your DAW, the realm of hardware can seem intimidating. With this guide to outboard gear for beginners, we’ll cover some of the aspects of adding hardware to your setup, with the aim of making this task easier as a musician or engineer.
Expanding your audio setup: where to start
If you’re planning to add outboard gear to your home studio there are a few areas to consider, especially if the home isn’t the only place you’ll be working. Let’s look at some solutions for using hardware without having to rearrange the furniture too much.
Power management
This is an essential part of any audio setup. Power management can increase the lifespan of your hardware by providing clean power to the circuitry inside.
Power distributors and conditioners provide a hub for the power outlets for all your hardware, many also offer surge protection, which can be a lifesaver in some cases.
These units offer one or more banks of stable current for your gear, and a centralized switch to activate power for all connected hardware.


*Please note that the Furman PL-8 CE is designed for the European AC standard (220V-240V). If you’re based in the US, use the PL-8 C.
The outboard you already own! Using your FX pedals inside your DAW
Look around your studio, right now; there’s a good chance you have a collection of effects pedals at your disposal. Many of these have high-quality processing effects with a range of uses beyond the guitar. Repurposing your existing effects pedals and integrating them with your studio is a great first place to start!
Firstly we need to find a way of interfacing your pedals with your DAW; guitar pedals don’t operate at the correct signal level (+4 dB) to be used as external effects with your DAW.
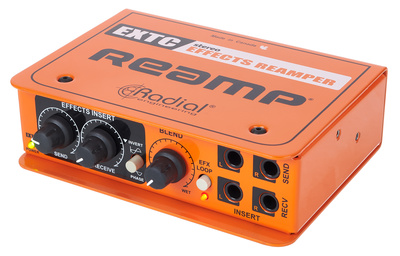
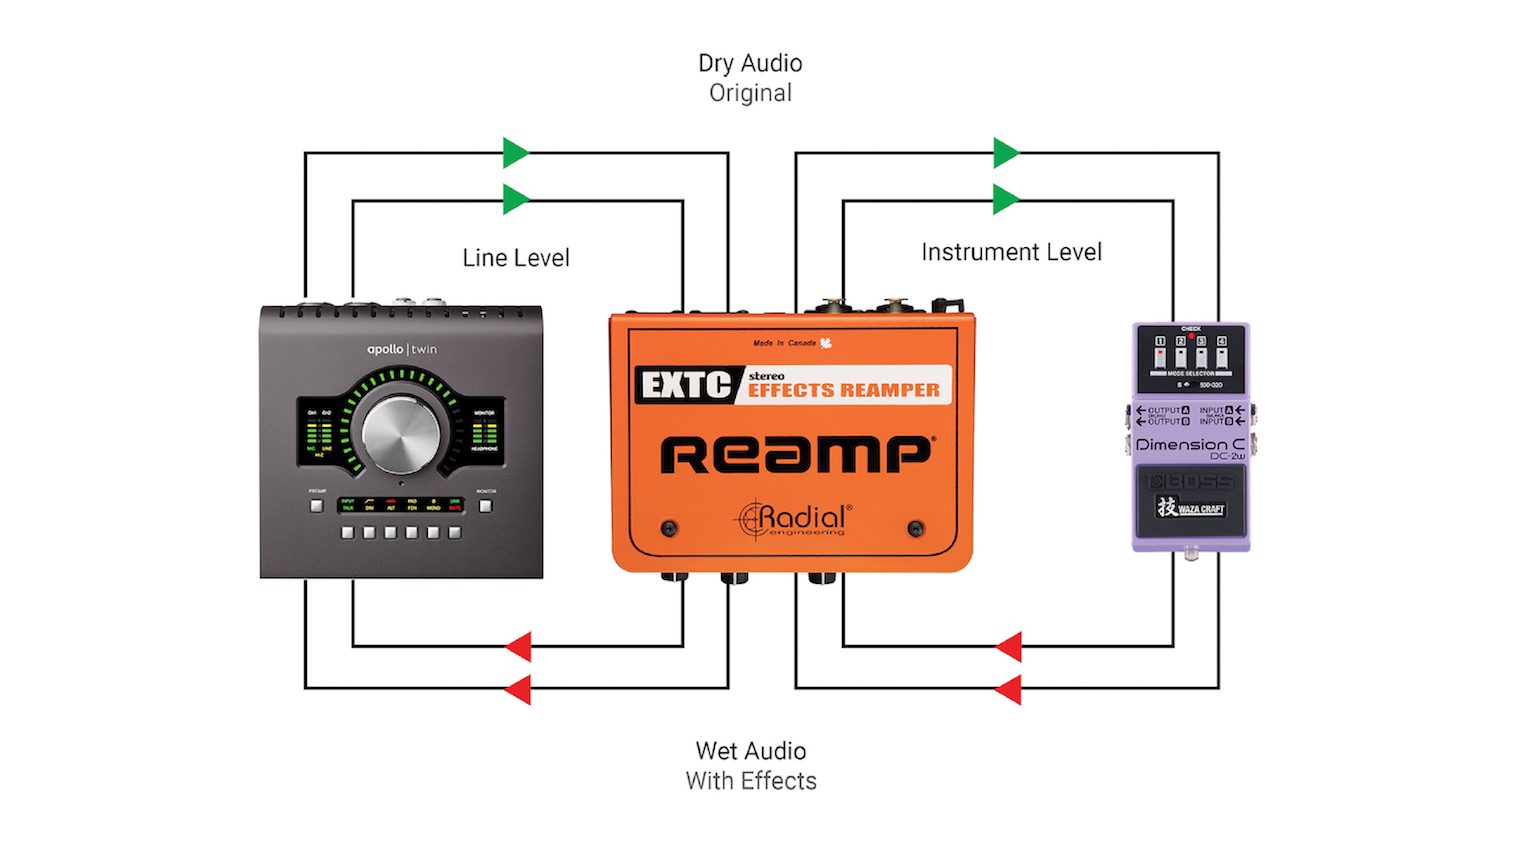
To solve this problem, a reamping device can link your entire pedal board, allowing it to be used on a mixer’s aux send or as an in-line processor via your current audio interface.
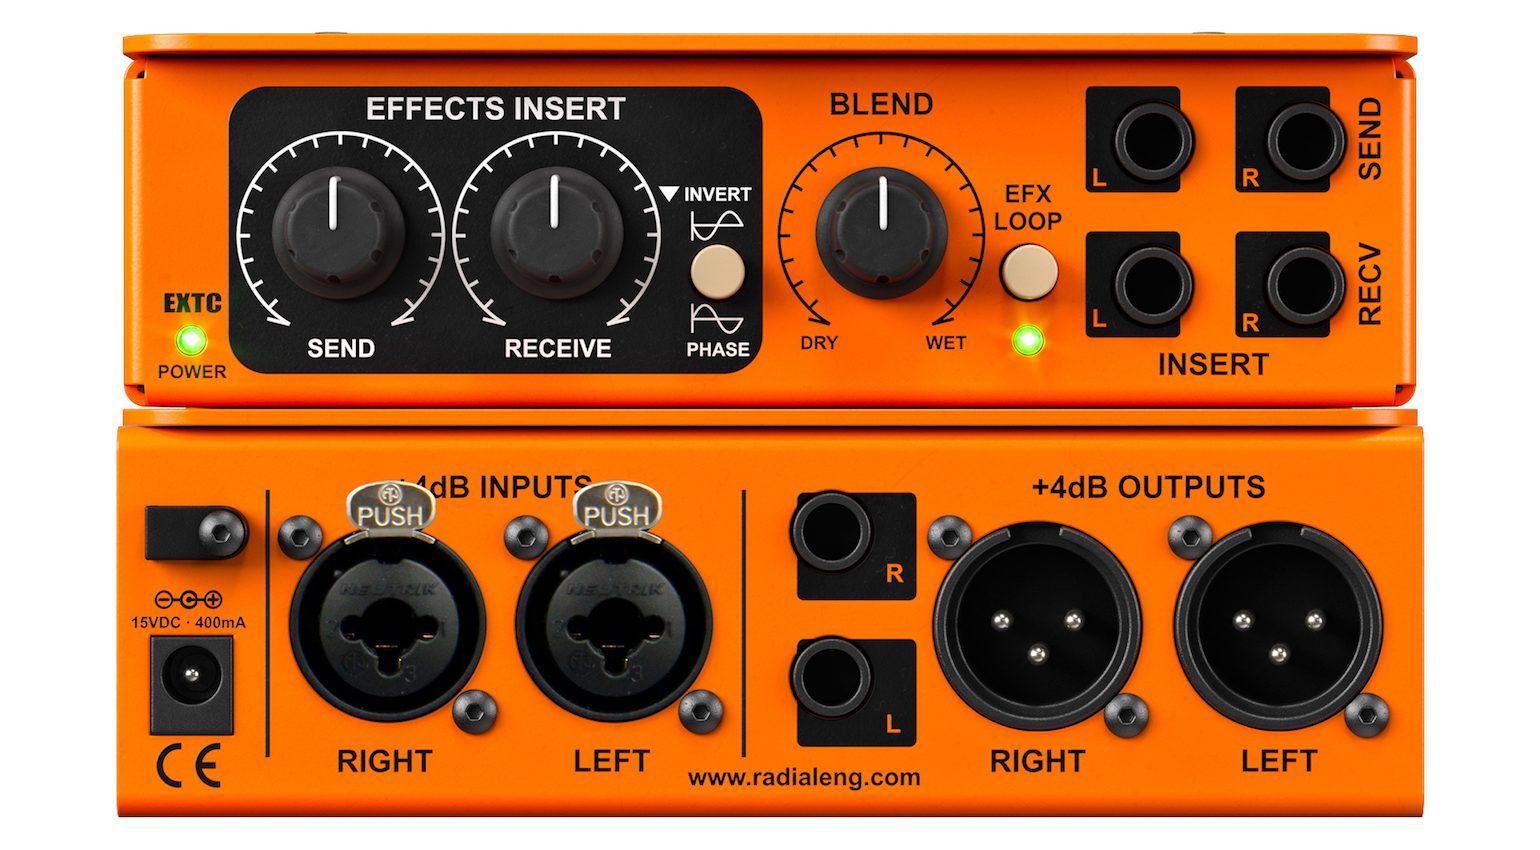
- Radial Engineering EXTC-Stereo, front and rear view.
- An example of how to use the EXTC in your setup.

Housing your rack gear
19″ racks come in all shapes and sizes. From cabinets with acoustic isolation to console-style studio desks with slots for your go-to hardware pieces.
Perhaps more practical, however, are solutions you can simply attach to your current desk and make it more studio-friendly.
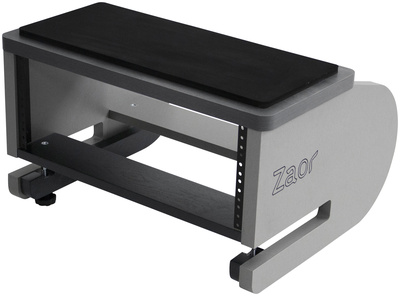
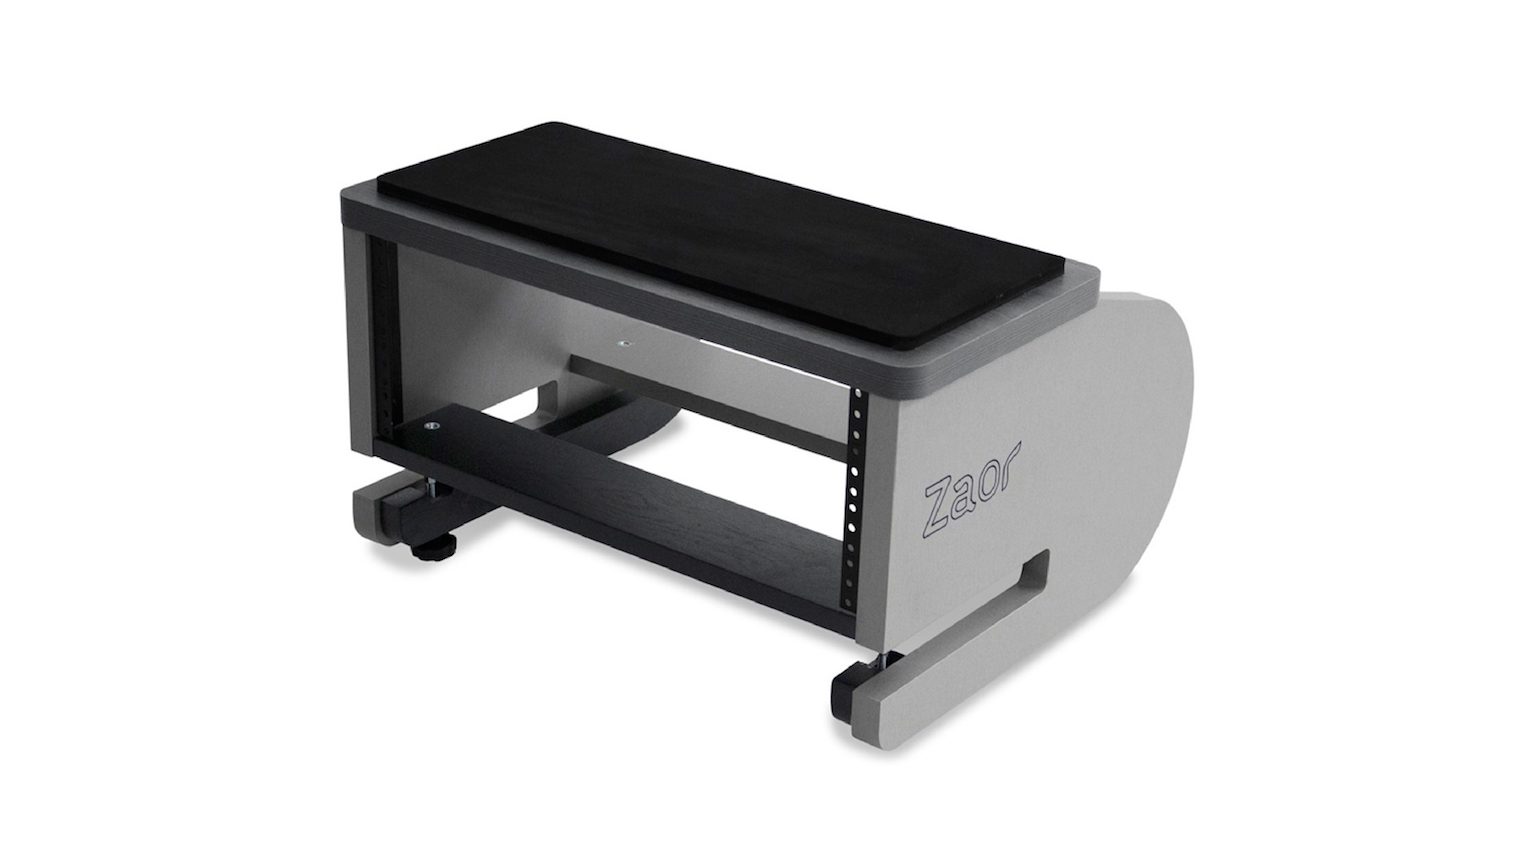
The Miza Griprack 4 MK2 from Zaor can be mounted to any table up to 35 mm (approx. 1,37 inches) thick. Once mounted. it provides 4U of rack space and a non-slip pad for studio monitors or a flatscreen display.

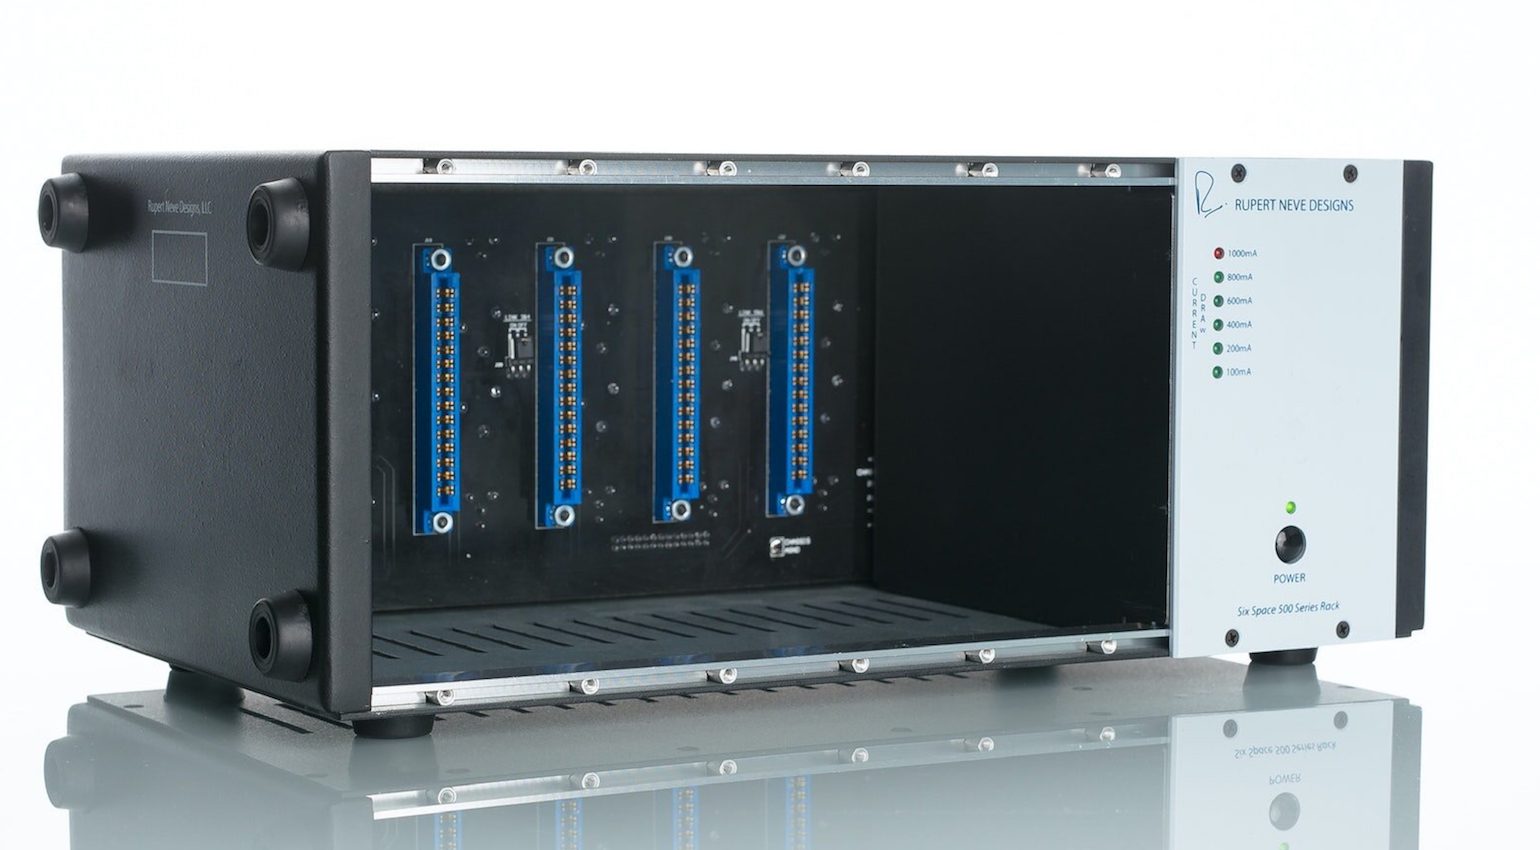
Using 500-series modules
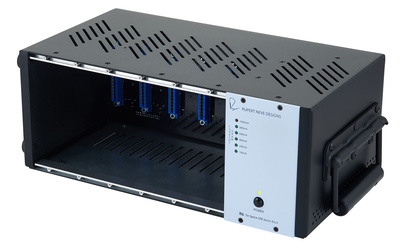
500-series is a 3U vertical modular format, originally developed by API. It is a lower voltage format, so you won’t get quite the same headroom and dynamics as the 19″ rack counterparts.
However, many manufacturers produce incredible modules for the 500-series format ranging from preamps and dynamics to EQ and other effects processors.
Much like Eurorack modules, these units require a powered chassis. Be sure to check if the power supply is internal or external, and note that rack ears are often sold separately.

Taking the show on the road
Portability is important for musicians, engineers, and producers who work in live audio as well as studio environments.
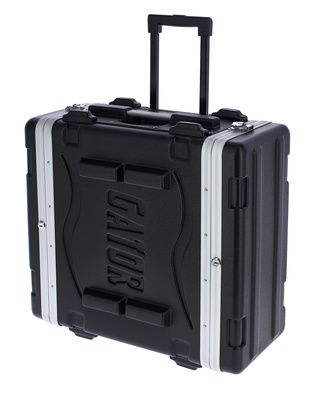
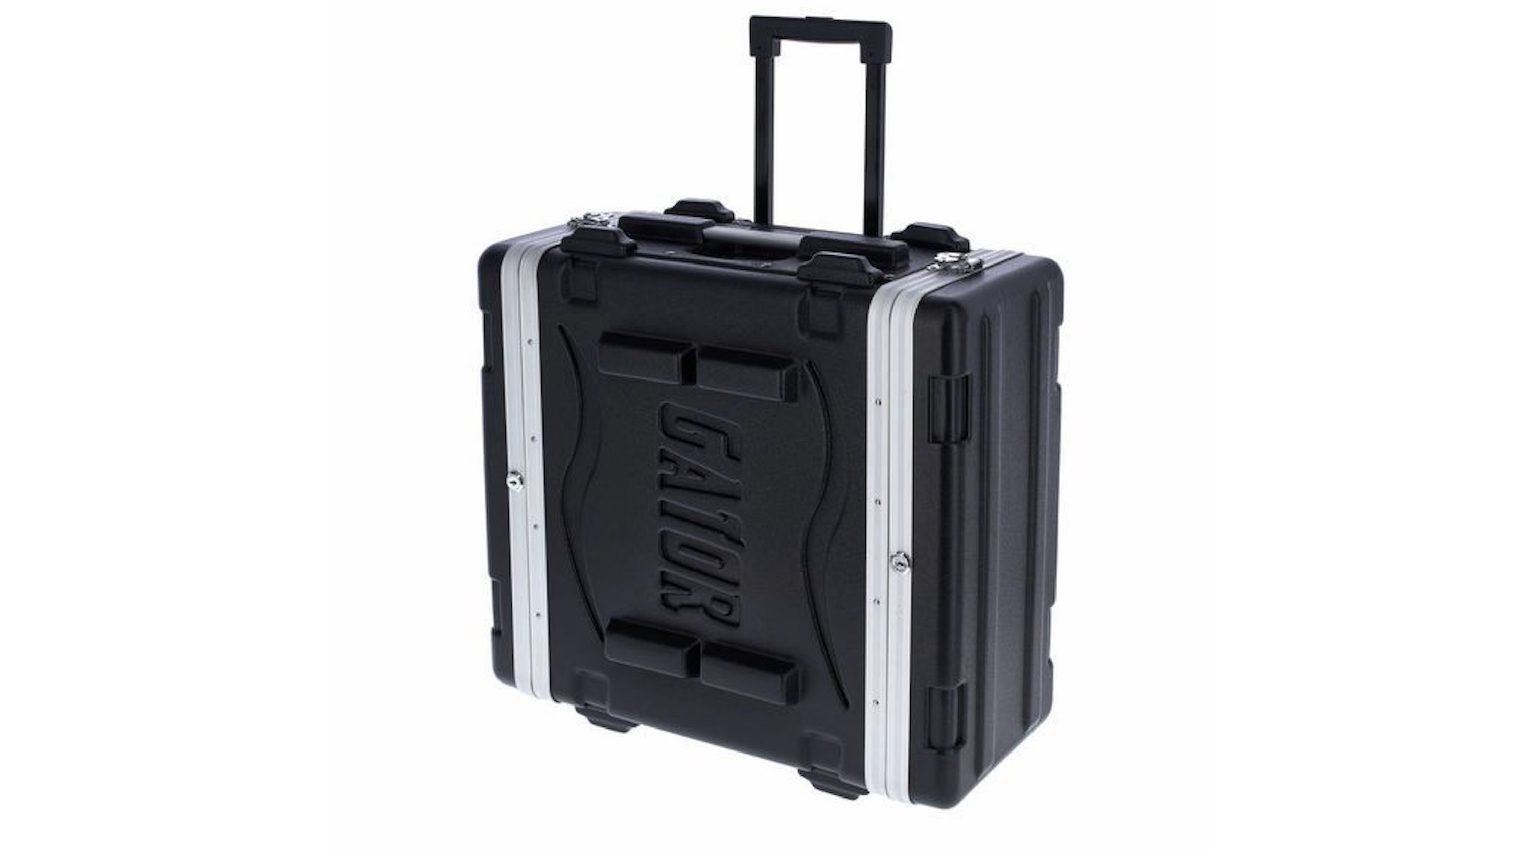
To house your equipment, you’ll need something mobile, protective, and also accessible for an easy setup. Apart from rack space, some road cases can also house mixing desks and other equipment.
Depending on your budget there are many solutions available, but generally, you’ll want something as compact and car-friendly as possible.

More about outboard gear:
- All about outboard gear
- Everything vintage
Videos:
*Note: This article contains affiliate links that help us fund our site. Don’t worry: the price for you always stays the same! If you buy something through these links, we will receive a small commission. Thank you for your support!
- Furman PL-8 CE: Furman
- Radial Engineering EXTC-Stereo, front and rear view.: Radial Engineering
- An example of how to use the EXTC in your setup.: Radial Engineering
- Zaor Miza Griprack 4 MK2: Zaor
- Rupert Neve Designs R6: Rupert Neve Designs
- Gator GRR-4L: Gator
2 responses to “How to use Outboard Gear for beginners: hardware made easy”








Re-amping pedals – really??? Damn! I don’t do that. I run line level directly from the DAW into a pedalboard and back wet. Never recognized any issue but maybe I’m deaf.
These days many pedals are built so a reamp device is unnecessary. My Strymon pedals sound better without it. If you need to reamp you can get an Art Dual RDB passive mono/stereo reamp box for $90 US and it sounds great.